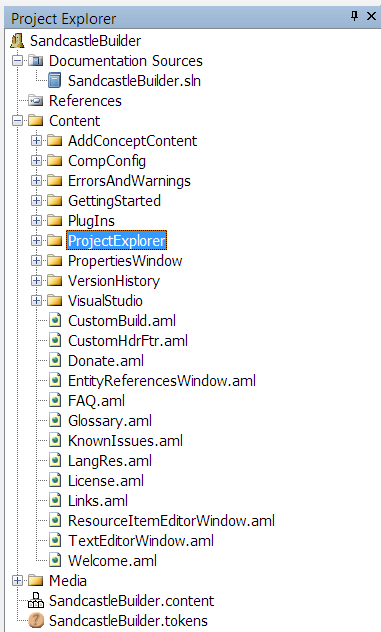
| Project Explorer Window |
The Project Explorer allows you to add items to the project and manage their related build action and additional properties.

The Project Explorer tree view consists of the following node types:
- The root project node is always named after the project and lets you add folder and file items to the root folder of the project.
- The Documentation Sources node is where you will specify the assemblies, XML comments files, and/or solutions and projects that go into the reference (API) content of the help file.
- The References node is where you specify dependent assemblies that provide base class information for the documented assemblies but themselves do not appear in the help file's table of contents.
- Folder nodes can be created to organize the file content of the project.
- File nodes represent conceptual content topics, images, content layout files, and various other supporting files that may or may not be compiled into the help file. Each file has a build action that determines how it is handled during the build process.
Right-clicking a node in the Project Explorer or selecting File | Project Explorer and then a submenu option from it allows you to perform various tasks within the pane such as adding and removing documentation sources, adding and removing references, and adding and removing files and folders. The property grid below the explorer tree view allows you to modify the build action and related properties for the selected file node.
The following keyboard shortcuts can also be used to perform the indicated actions:
- Context menu key - Show the context menu for the selected item.
- Delete - Delete the selected item.
- Enter - Edit the selected file (file nodes only).
- F2 - Edit the selected node's name (project, folder, and file nodes only).
Double-clicking a file node will also open it for editing.